Concrete is among the most outstanding building materials for foundation slabs and footings. When installed properly, the material can give a timeless service of up to 50 years.
However, due to mishaps during installation, high-temperature variations, ground shift, settling and shrinkage, the material will develop cracks.
To maintain its integrity and that of the building as a whole, concrete must be serviced with a proper maintenance regime. This article takes you through a simple and easy process of repairing cracks in foundation slabs and footings made of concrete.
Assess the Damage

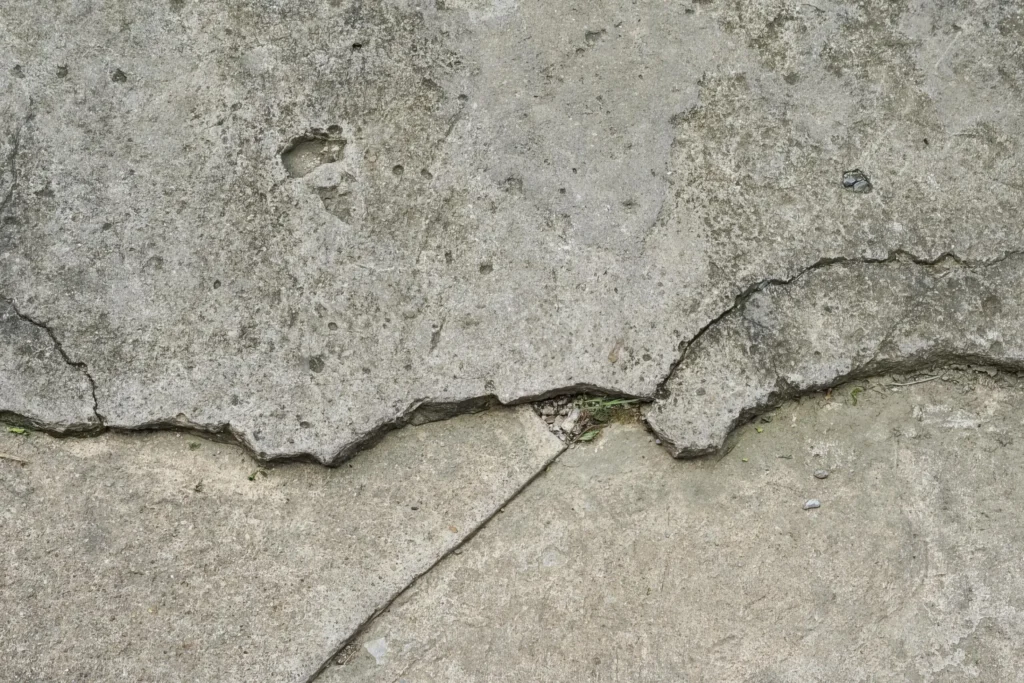
Crack In The Concrete
The first order of business is to assess the amount of damage so that you can effectively plan for the repair. During the assessment, you should check the depth, width and length of the cracks. The size of the cracks will determine the most appropriate action to take. For smaller cracks, you can comfortably repair these on your own. Bigger and deeper cracks may signal a potentially serious issue with the structure, a point at which you should seek the opinion of a professional.
Inspect for Moisture
After a season of torrential rains, water may be trapped in the cracks. This widens the cracks further when the water expands as it reaches the freezing point. Upon expansion, it pushes the surrounding material, widens, and deepens the cracks even further. To remove it, use a vacuum cleaner to suck and dry it off so that the repair material can adhere properly.
Clean the Crack
To achieve an effective adhering between concrete contents and the repair material, clean the cracks thoroughly. Use your fingers to pull out vegetation that might be thriving in the cracks then use a garden hose to fill them with water so that large earth debris can dissolve for easier cleaning. Use a power washer to lift the debris off the cracks and let it dry for some hours.
Prep the Surface
For very small cracks, usually less than a quarter inch, they will have to be widened further to make the repair easier and more effective. With a chisel and a mallet in hand, enlarge the cracks making a V shape.
Apply a Bonding Agent
Following the manufacturer’s instructions, apply a bonding material as advised and let it sit for a day. The material ensures a maximum adherence between the existing and new concrete materials.
Choose the Repair Material
Your choice of repair material will be advised by the shape and size of the cracks. An expansive concrete patching kit is best suitable for smaller cracks while epoxy comes in handy for larger and deeper cracks. Upon getting into the cracks, epoxy hardens and forms a stronger bond with the existing concrete for better and long-lasting results. It also gives the cracks an excellent defense against water infiltration, something that also ensures the repairs last longer and looks more appealing.
Fill the Crack
Use a caulk gun to fill the cracks with your preferred concrete repair material. As you do that, wait for the material to reach the lowest depths and only stop when it reaches the surface. Let the material overfill the cracks to account for the shrinkage. For expansive concrete, fill it slightly below the surface to account for the expansion.
Smooth and Level
Use a putty knife to remove the excess repair material from the surface along the cracks. As you do that, ensure the adjacent surface is level with the surface of the repaired cracks for uniformity and more appealing repair. For harder materials such as epoxy, you will need a scrapper to remove the little imperfections from the surface.
Cure, Protect and Finish
The curing period may entail covering the patched areas with a plastic sheeting to shield it from the high temperatures and precipitation. It may also mean discouraging foot traffic from the slab so that the material can adhere properly to the existing concrete. The wait time of the curing period depends on the instructions of the manufacturer of your repair material.
Seal the Surface
Though some people may not see the need to apply one, a sealant gives the concrete an extra layer of defense against elements such as water to achieve long lasting and sturdy results.
Should you feel uncomfortable with DIY or sense that there is more to it than meets the eye, you should seek the intervention of a professional contractor. Experts have the skills and experience to know what could be wrong with your architecture. This can help them determine the most appropriate course of action.


