Re-diverting water away from your house is crucial for minimizing damage to your structure.
One effective technique commonly used by many to achieve this is linking a French drain to your downspout.
This system helps to manage overflow, lessen erosion, and keep your basement dry.
Whether you are looking to manage slight problems or just want to safeguard your property from heavy rainfall, having information about the installation can help you do the setup perfectly so you can start experiencing the benefits.
This article provides information on the best approach so you can tackle this task with confidence.

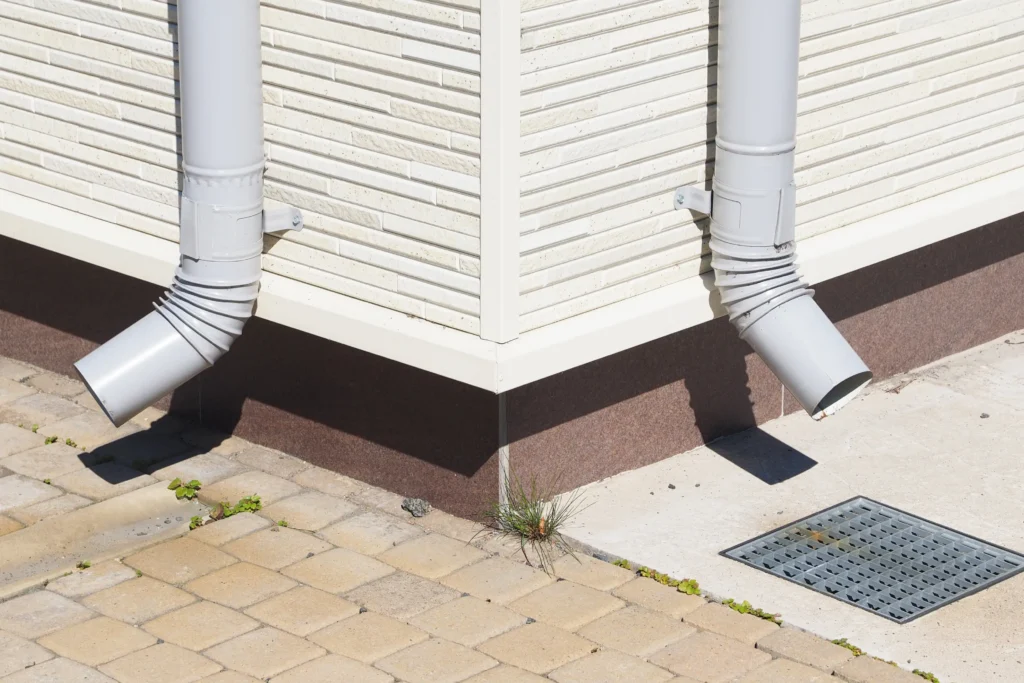
Downspout installed correctly
Get the Right Materials
You will need various materials, such as an adapter or extension, a PVC or corrugated pipe for directing, another perforated one, and coarse gravel. You will also need landscape fabric to prevent soil from clogging the system and T-connectors or couplings to link everything securely.
Plan the Route
Start by identifying the area where runoff accumulates and determine the right path to direct it away. The trench should slope downwards while following the recommended rate of 1 inch per 10 feet. While doing this, you must pay attention to the location of any underground utilities, trees, or landscaping features that could affect your endeavor. The endpoint can be different areas, such as a dry well or a low-lying area.
Dig the Trench
The trench you dig should be 6 to 12 inches deep and wide enough to accommodate the channel and a surrounding layer of gravel. You can use a shovel or trenching tool to do the digging. It would be best if you dug based on the planned route that you had created. As you do this, be sure to maintain a consistent slope. If you come across any obstructions like roots and rocks, then clear them out to help you achieve an unobstructed path. An adequately dug one is essential because it is the only way to redirect effectively.
Install the Downspout Adapter and Connect the Drainage Pipework
Start the installation by attaching the adapter to the base of your existing downspout. This adapter channels the runoff, helping to prevent leaks and ensure a smooth flow. The next step is to position the solid channel into the hole and connect it to the adapter. Make sure that the connection is tight to prevent leaks. It should extend along the trench’s route.
Create the French Drain
Start by lining it with landscape fabric, which helps to prevent soil from clogging over time. The next thing you should do is to add a 2-3 inch layer of gravel to the bottom of the hole to help create a solid base. Place the perforated line on top of the gravel with the holes facing downward to enable proper entry and flow. Cover it with more gravel after it is in place until the gully is nearly complete. Finally, fold the landscape fabric over the gravel to keep the soil out while allowing water to pass through.
Do the Connection and Backfill the Trench
Start by joining the channel pipework to the perforated pipe using T-connectors or couplings. This helps to ensure a secure and watertight fit. After the connecting is done, start backfilling the trough with the soil you removed earlier, packing it down as you go to eliminate air pockets and ensure stability. For a clear finish, you might add a layer of sod or mulch on top of the backfilled area.
Test the System
The final step is to test whether the system is operating effectively. To do this, start by running water through the downspout to observe how it flows. As you do this, check for any leaks or blockages. If everything works perfectly, then you have a fully functional system.
Connecting a French drain to your downspout is a practical solution for managing excess water and protecting your property from potential damage. By carefully doing the steps above, you can create an efficient system. However, as you may have realized, this project can be quite tasking. This is why you may want to contact the right experts to do it on your behalf. Professionals have the needed experience, tools, and skills. They are, hence, more likely to do a better job than you would if you chose the DIY option.


