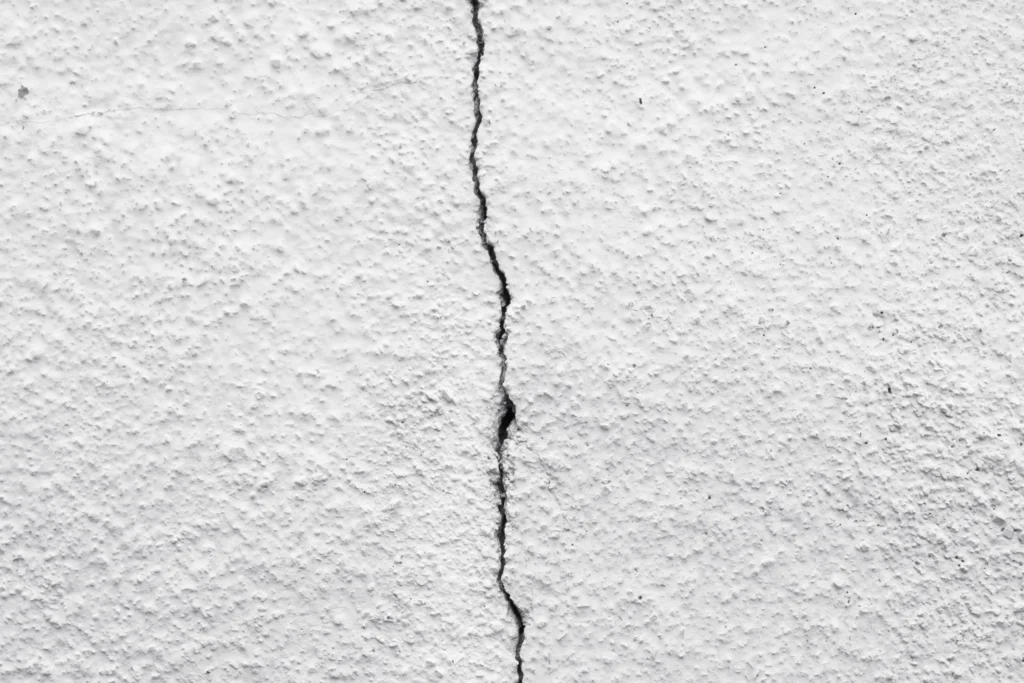
Cracks in basement walls occur for many reasons including ground shift, hydrostatic pressure created by groundwater, construction and seismic activities in the vicinity.
Since basements act as the foundations of houses, operating with cracks in these critical sections can compromise the integrity of the structure.
When you see cracks in basement walls, you should repair or have them repaired before they escalate to serious structural, health and safety issues.
While most people might panic at the sight of cracks in their basement walls, repairing these can be done on your own, but better to be done by a professional.

Does your wall in the basement have a crack?
However, the process we are about to share with you is only meant for smaller shallow cracks. This is because larger and deeper cracks in the basement are a precursor for more serious structural problems that require the intervention of a professional to address.
Chisel out the Crack
The process begins with you scouring out debris from and along the crack. Applying repair material on cracks with debris prevents the material from bonding fully with the concrete. To do this, use a chisel and mallet to scour the loose debris while also streamlining the crack edges. Start from the top going down along the cracks. In this process, you will need a pair of gloves, goggles and a safety helmet to protect you from the flying debris.
Clean the Debris
Use a wire brush to loosen debris stuck deep in the cracks, for debris stuck so deep in areas where brush bristles and chisel cannot access, use a vacuum to suck it up. The vacuum also helps in drying off any moisture that may still be lingering in the crack. Applying repair material on a wet surface may hamper complete bonding between the material and your concrete.
Drill Holes
By using a power drill, make holes one foot apart along the line of the crack. The holes are meant for grease fittings through which the repair material will be injected deep into the line. Ensure the holes reach the farthest depths, to achieve a sturdy repair result.
Insert Grease Fittings
Then place grease fittings in all holes on the line of the crack. The fittings provide a platform where repair material is injected.
Secure the Fittings
Since the loose fittings cannot support the hose of the grease gun, they must be snugly secured into the wall. This is where a ratchet device comes in handy, to tighten fittings so that they can support a streamlined injection. The gasket on the fitting will expand to create a tight seal for a seamless injection.
Screw Pin Tips on the Fittings
The grease pin tips act as the contact point between the grease fitting pins and the grease gun tip. This is aimed at ensuring that the slurry does not leak during the injection process. Use a wrench to tighten the pin tips.
Apply Slurry Cement
At this point, you must have realized that there are still some spaces around the base. If not sealed properly, the slurry may escape through these points and may not effectively fill the crevice. To prevent this scenario, use a soft brush to apply slurry on these gaps and let it dry.
Prepare the Gun and Repair Material
With close attention to the user instructions, mix the repair material and feed it to the gun. Epoxy resin is recommended since it expands to form a sturdy bond with the concrete once it reaches the depth of the crevice. It is also recommended because of its water-resistant nature, which forms a strong barrier against recurrent water damage.
Squeeze the Repair Material
Attach the hose of the gun to the tip of the fittings and then gently squeeze the gun. This action should pump the epoxy deep into the crack. The dripping of epoxy on the tips is a sign that the hole is full and it is time to move to the next one. Repeat this step for all holes.
Finish Up Works
Upon filling all the holes, apply slurry on the surface and around the injection points. With the use of a trowel, level the slurry on the surface to the surroundings to achieve a smooth finish.
As previously noted, the above-step process is designed for smaller cracks, while bigger cracks should be left to the professionals only. They come in handy in situations where you want premium services for a lasting solution and where the homeowner is very busy or is not very handy with tools.


